This blog is in continuation to my series of technical blogs about Cameras & photography. If you haven't read the other blogs before, please check them out. Here are the links to it:
Exposure Control in itself is quite a big topic and I’m upfront warning you this blog is going to be big :D. The topics that we will be covering in today’s blog in Technical Dive into Exposure Control is:
- Overview of Exposure Control
- Overview of Auto Exposure Control
- Camera System Design for Exposure Control
Overview of Exposure Control
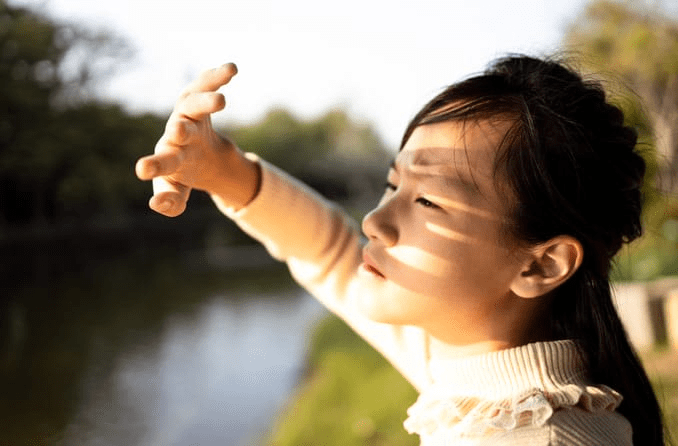
Folks from the photography world commonly use this term called ‘Overexposed‘. Let’s break the ice today on what Overexposed and Underexposed mean. From our introduction blog, we have seen that the Image Sensor contains thousands of photodiodes that receive light and convert them into corresponding electrical signals. How long the photodiodes need to be On or active to receive light is defined as the Exposure Control.
The Exposure Control is mostly denoted in time(ms) but most Camera Manufacturers mention exposure control as an inverse of the Frame Rate (fps). In these cases, the Exposure Control is known as Shutter Speed. For instance, lets say the camera’s exposure setting is fixed to 1/30 (fps), it denotes that there are going to be 30 images/frames from the camera in 1 second and every frame shall be exposed to the light for 33.33ms.
Now, we are not sure about what the environment is. Is the user in low light condition? If yes, are we sure that 33.33ms exposure enough for the image to be bright enough to view. The condition where the image is dark and might not contain much visual details is known as an Underexposed Image. Similarly, if the image taken is too bright and has lost a lot of information, it is known as an Overexposed Image.

Overview of Auto Exposure Control
Based on the images taken, we might feel skeptical as to why these over or underexposed images are only seen in the cameras but everything seems to look normal to our eyes. Well, to answer this question I might have to add a scenario where we all have been through but have not given much thought about it. If you are in a very dark room for quite some time and then suddenly move outdoor, what is the first reaction of yours? Something similar to this?
Our instant reaction is to block as much light as possible because the sensitivity of our rod and cone cells of the eyes are too high. Our pupils slowly constrict to a point where there is only enough light entering the eye capable enough to view everything clearly. This Involuntary operation controlled by our Brain is the Biological Auto Exposure feature, where different components of our eyes automatically adjust to the best setting needed to view the environment.
An artificial gimmicked feature running in the Camera’s sub system is the Auto Exposure algorithm which tries to automatically adjust the Camera’s Exposure time and ISO sensitivity to maintain a balance where the image is properly exposed.
Camera System Design for Exposure Control
We now know how exposure control works in cameras, but how is it controlled in the low level hardware? Let’s understand…
Assume that there is a 5×5 array of photodiodes placed in an image sensor. There are two ways by which each of these photodiodes perceive light. Based on the hardware design, the two types of image sensors are:
- Rolling Shutter Sensor
- Global Shutter Sensor
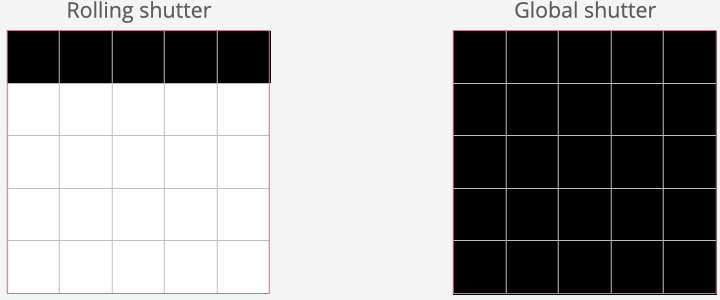
When light falls on these sensors, Rolling shutter sensor switches on the photodiode arrays line by line whereas global shutter sensors switches on the entire photodiode array at one go. But why such a differentiation one might ask? Rolling shutter cameras can be tightly packed leaving more room for higher resolutions, consecutively having lesser cost compared to a global shutter sensor. Global shutter sensors are mostly used in cases where there are a lot of moving objects to capture, whereas rolling shutter sensors are used for capturing still images.

Leave a comment